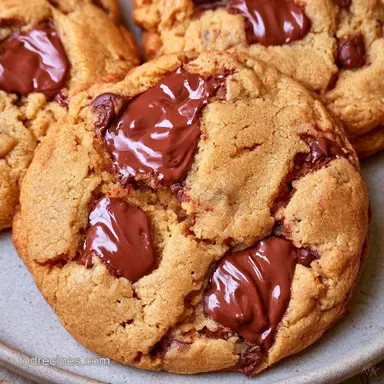
Guilt-Free Cookies Sheet Pan: Chocolate Chip
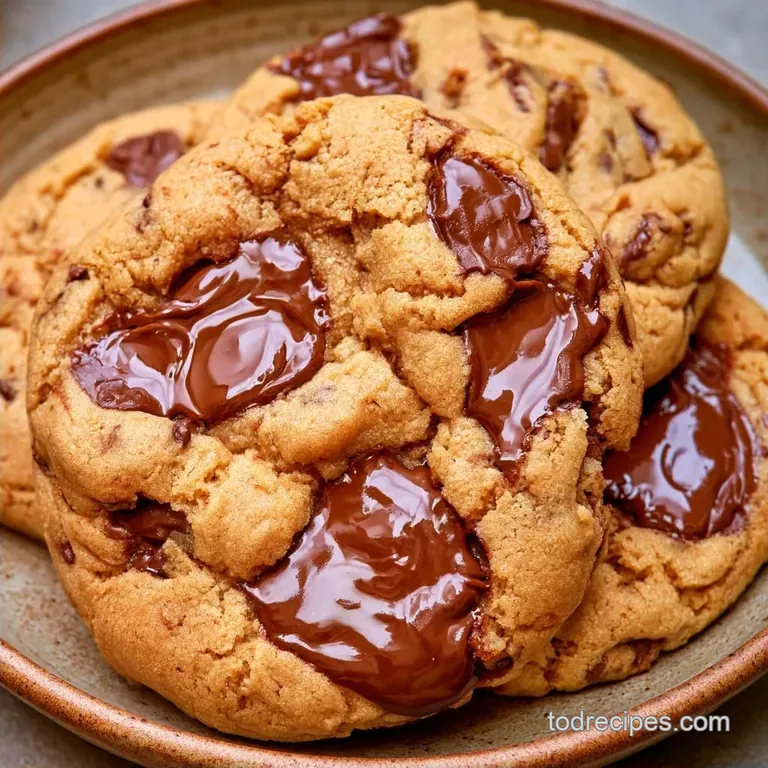
- Time: 10 min active + 18 min baking
- Flavor/Texture Hook: Chewy centers with deep mahogany edges
- Perfect for: Large crowds, bake sales, or low effort dessert nights
The smell of dark chocolate hitting a hot oven is basically my favorite scent in the world. There's something about that rich, cocoa aroma filling the kitchen that just feels like a hug. I remember trying to make individual cookies for a big family reunion, and I spent three hours just scooping dough.
By the time the last tray came out, I was exhausted and the first batch was already cold.
That's why I switched to using a Cookies Sheet Pan. It's honestly the only way to feed a group without losing your mind. You just press the dough into the pan, bake once, and you're done. It transforms the whole experience from a chore into something actually relaxing.
You can expect these to have a slightly different vibe than a standard round cookie. They're more like a cross between a brownie and a cookie, with a dense, chewy bite. The coconut sugar gives them a deeper, almost caramel like flavor that pairs beautifully with the dark chocolate.
Why Most Recipes Get This Wrong
- The Mixing Trap: Most people over beat the dough. If you stir too long, you develop too much gluten, which makes the bars tough instead of chewy.
- Edge Burn: Sheet pans heat up unevenly. The edges often cook faster than the middle, so pulling them out while the center is still slightly soft is the only way to avoid dry cookies.
- Sugar Choice: Using only white sugar makes the bars spread too thin. Coconut sugar provides more structure and a richer color.
| Method | Time | Texture | Best For |
|---|---|---|---|
| Individual Scoops | 1-2 hours | Crispy edges, soft center | Small batches |
| Cookies Sheet Pan | 28 minutes | Uniformly chewy, fudge like | Large crowds |
Quick Recipe Specs
To get these right, keep an eye on these three checkpoints. First, the butter must be softened but not melted, or the dough will run. Second, ensure your oven is exactly 350°F (175°C) before the pan goes in.
Third, the bars should be removed when the edges are deep brown but the center still has a tiny bit of give.
Ingredient Deep Dive
| Component | Purpose | Substitute Notes |
|---|---|---|
| Butter | Provides fat and flavor | Coconut oil (solid): Works well, adds coconut scent |
| Coconut Sugar | Sweetness and color | Brown sugar: Similar result, slightly more moist |
| Almond Flour | Adds richness and chew | Extra AP flour: Drier result, less "fudgey" |
| Dark Chocolate | Bitter sweet contrast | Milk chocolate: Much sweeter, less depth |
Ingredients and Swaps
- 1/2 cup (115g) unsalted butter, room temperature The reason: Creaming softened butter with sugar provides better aeration (Swap: 1/2 cup coconut oil)
- 3/4 cup (150g) coconut sugar The reason: Offers a lower glycemic index and rich caramel flavors (Swap: 3/4 cup brown sugar)
- 1 large egg (Swap: 1 flax egg for a vegan version)
- 1 tsp (5ml) pure vanilla extract (Swap: 1 tsp maple syrup)
- 1 1/2 cups (190g) all-purpose flour The reason: Provides a reliable structure (Swap: 1:1 GF flour blend)
- 1/4 cup (25g) superfine almond flour The reason: Ensures the crumb remains tender (Swap: 2 tbsp cornstarch)
- 1/2 tsp (3g) baking soda (Swap: 1 1/4 tsp baking powder)
- 1/4 tsp (1.5g) sea salt (Swap: Table salt, use half the amount)
- 1 cup (170g) dark chocolate chips (70% cocoa or higher) (Swap: Chopped dark chocolate bar)
- Flaky sea salt for finishing
Essential Baking Gear
Keep it simple, but a 12x17 inch half sheet pan is essential. Using a smaller pan will result in dough that is too thick, causing the edges to burn before the center is fully baked.
I strongly suggest lining your pan with parchment paper. Don't rely on grease alone, as the sugar in the dough tends to stick. Leave a bit of an overhang on the sides to make it easy to lift the entire slab of sheet pan cookies out once cooled.
A silicone spatula is also incredibly helpful for pressing the dough firmly into the corners.
The Cooking Process
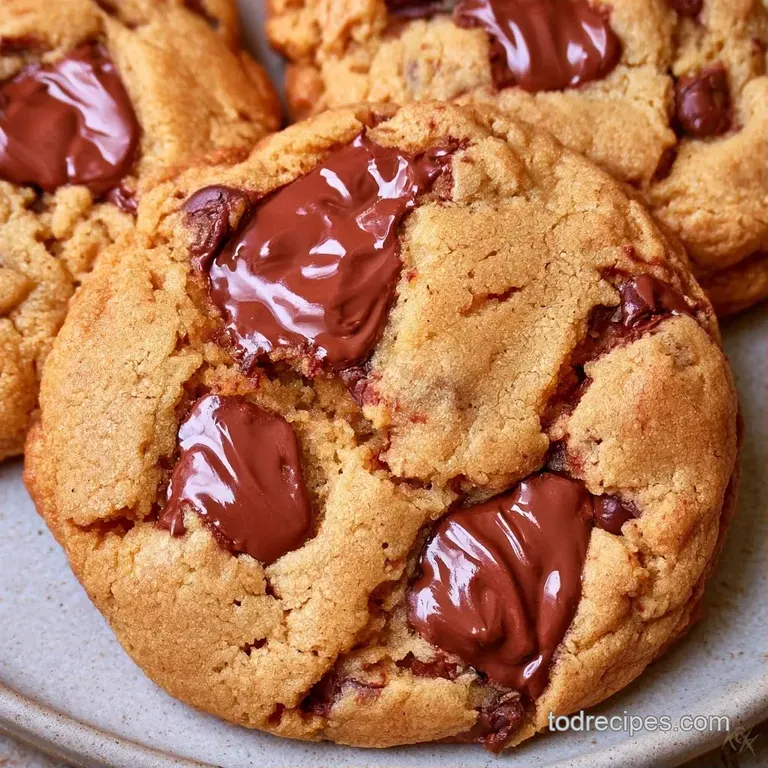
1. Preparing the Base
Heat your oven to 350°F (175°C) and line a 12x17 inch half sheet pan with parchment paper. In a large bowl, whisk together the coconut sugar and softened butter until the mixture is creamy. Beat in the vanilla extract and egg until the batter is smooth and well combined.
2. Incorporating Dry Ingredients
Sift the almond flour, all purpose flour, salt, and baking soda directly into the wet ingredients. Using a silicone spatula, fold the mixture together just until the flour streaks disappear. Gently stir in the dark chocolate chips.
3. Spreading and Baking
Spread the dough into the prepared pan, using the spatula to create an even layer that reaches all four corners. Bake for 15-18 minutes until the edges are deep golden brown and the middle is still slightly soft.
Remove from the oven and immediately finish with a sprinkle of flaky sea salt.
Chef's Note: Avoid pressing the dough too firmly. It should be level, but packing it too tightly will result in the loss of that signature chewy texture.
Common Mistakes & Troubleshooting
If your bars come out too hard, you likely left them in for an extra two minutes. In a Cookies Sheet Pan recipe, those last two minutes are the difference between a chewy bar and a biscuit.
Another issue is the "raw center." This usually happens if the dough was piled too thick in the middle. Always use the back of a spoon or a spatula to flatten the center specifically.
Fixing a Dry Texture
Dry bars usually happen because of over baking or too much flour. If you're measuring by cup, spoon the flour into the cup rather than scooping it directly from the bag.
Handling Uneven Baking
If your edges are burnt but the middle is raw, your oven might have a hot spot. Try rotating the pan halfway through the 18 minute bake time.
| Problem | Root Cause | Solution |
|---|---|---|
| Bars are cakey | Too much mixing | Fold by hand, don't use a mixer |
| Dough is too runny | Butter was melted | Use softened, not melted, butter |
| Center didn't set | Uneven spreading | Press dough firmly into corners |
| Bland flavor | Low quality salt | Use flaky sea salt on top |
Perfect Complements
Because of their rich, dark flavor, a contrasting accompaniment helps balance the sweetness. Try pairing them with a chilled glass of oat milk or a bold espresso. For a festive gathering, fresh raspberries or sliced strawberries provide a bright acidity that complements the cocoa.
For another oven baked treat, check out my Cinnamon Christmas Cookies for a spicier, warmer flavor. Both recipes are perfect for batch baking, although the cinnamon variety has a slightly tenderer texture.
Make-ahead and Leftover Tips
Keep them in a container, using parchment paper between layers to prevent them from sticking together. They will remain fresh for 3 days at room temperature or roughly a week in the refrigerator. I've found that refrigerating them actually improves the fudgy consistency.
If you need to store them longer, freeze the bars for up to 3 months; wrap them securely in foil first. To serve, let them thaw for 20 minutes or microwave one for 10 seconds.
To avoid wasting any, crumble broken pieces into your morning yogurt or over vanilla ice cream. While parchment paper is generally intended for one-time use, feel free to save it if it's still clean.
Flavor Variations to Try
Feel free to customize these sheet pan cookies to suit your taste. For a nuttier profile, substitute the dark chocolate with chopped walnuts and a dash of cinnamon. If you prefer a more classic treat, my Oatmeal Raisin Cookies offer a completely different texture.
2 Diet Swaps
- gluten-free: Substitute the all-purpose flour for a premium 1:1 gluten-free blend. The presence of almond flour ensures the texture stays consistent.
- dairy-free: Opt for vegan butter and dairy-free chocolate chips. The coconut sugar already fits this dietary need.
| Original Ingredient | Budget Substitute | Impact |
|---|---|---|
| Coconut Sugar | Brown Sugar | More moisture, less caramel |
| Almond Flour | Cornstarch | Less rich, slightly crispier |
| Pure Vanilla | Vanilla Imitation | Simpler aroma |
Decision Shortcut
- Extra chew? → Mix in 1 additional tbsp almond flour
- More bitterness? → Opt for 85% cocoa chocolate
- Saltier finish? → Double the flaky salt topping
Baking Truths
Some people think you need to chill the dough for this recipe. Honestly, you don't. Since we're pressing the dough into a pan rather than scooping it, the "spread" is controlled by the edges of the pan. Chilling just adds an hour of waiting for no real gain.
Another myth is that you must use a stand mixer. In fact, using a whisk and a spatula is better here because it prevents the gluten over development I mentioned earlier. A hand mixed Cookies Sheet Pan is almost always more tender than a machine mixed one.
Right then, you're all set to get baking. Just remember to trust your nose and eyes more than the timer. When those edges look like a dark penny, get them out of the oven. Trust me, the carryover heat will finish the center while they cool on the pan. Enjoy your treat!
Recipe FAQs
Can you cook cookies on a sheet pan?
Yes, sheet pans are excellent for baking cookies, similar to how we prepare our Bomb Pop Cookies. They provide a large, flat surface that allows for even heat distribution.
Is there a difference between a cookie sheet and a sheet pan?
Yes, the main difference is the rim. Cookie sheets are typically flat with very shallow or no edges, while sheet pans have raised sides to prevent spills.
Is it true that a half sheet pan is the same size as any standard cookie sheet?
No, and here's why. A half sheet pan is a specific industry standard measuring 12x17 inches, whereas cookie sheets vary widely in size.
What type of cookie sheet is best for cookies?
Heavy gauge aluminum pans are best because they resist warping and heat evenly. Using a pan with a light color prevents the bottoms from over browning.
Cookies Sheet Pan Bars