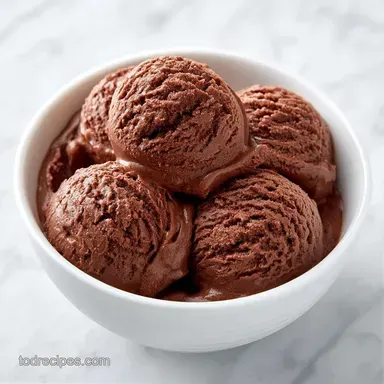
Guilt-Free Death by Chocolate Ice Cream
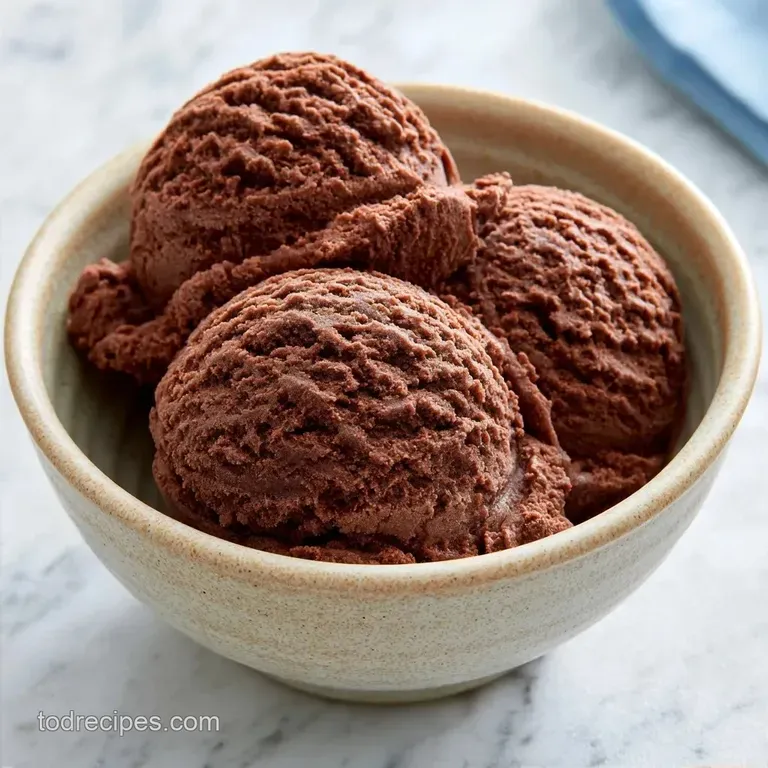
- Time:15 minutes active + 26 hours chilling
- Flavor/Texture Hook: Rich mahogany cocoa with crunchy wafer shards
- Perfect for: Low sugar dessert cravings or meal prep treats
The clink of a heavy metal scoop against a frozen pint is a sound I live for. For a long time, I thought that if I wanted a real treat, I had to choose between a sugar bomb from the store or a "healthy" version that tasted like frozen cardboard.
I tried every shortcut, but most of them ended up with a gritty texture that felt more like slush than dessert.
Then I realized the problem wasn't the ingredients, but how they were handled. Most people just whisk cocoa into cold cream, which leaves those annoying little dry clumps. I started treating the cocoa like a spice that needs to be awakened, and that's when things changed.
This homemade Chocolate Ice Cream that I'm sharing is a bit of a different beast. It uses Greek yogurt to keep things stable and monk fruit to keep the sugar low, but the taste is pure, dark indulgence.
It's essentially a Death by Chocolate Ice Cream homemade version that actually lets you feel good after a second bowl.
Making Rich Chocolate Ice Cream
Cocoa Blooming: Stirring cocoa into hot water first activates the aromatic oils. This intensifies the chocolate profile and eliminates the chalky texture common in lower grade powders.
Yogurt Stability: Full fat Greek yogurt contributes a hint of tang and protein. This helps the mixture maintain its structure, ensuring the Chocolate Ice Cream stays velvety instead of becoming icy.
Aeration: Whipping the cream to soft peaks before folding in the other components traps tiny air pockets. These bubbles serve as insulators, making the final scoop feel smoother on the palate.
If you want to avoid your frozen dessert turning into a solid block of ice, this technique is the solution. It shares the same logic as dark chocolate ice cream but with a lighter, protein rich variation.
| Method | Time | Texture | Best For |
|---|---|---|---|
| Fresh Churn | 2-4 hours | Airy and light | Classic cravings |
| Ninja Creami | 24 hours | Dense and gelato like | Precise portioning |
| No Churn | 6-12 hours | Rich and buttery | No equipment |
Recipe Specs
Now for the timing. This isn't a last minute dessert since the freezing process is essential. Skipping or shortening the 24 hour freeze will leave you with a soupy mess.
Active prep takes only 15 minutes. However, the total time comes to 26 hours and 15 minutes to account for the deep freeze and the subsequent setting period after stirring in the extras. The patience pays off in the final texture.
This makes roughly 8 servings. Since it's a rich, filling treat, a small portion is plenty. Stick with full fat yogurt; the fat content is crucial for enhancing the chocolate taste and preventing an icy texture.
Shopping List Breakdown
Grab a high-quality cocoa powder. The Dutch processed kind works best here because it's less acidic and gives that dark, professional look. For the sweetener, monk fruit is my go to since it doesn't have that weird aftertaste some other sugar alternatives do.
| Ingredient | Role | If You Don't Have It |
|---|---|---|
| Heavy Cream | Main fat and air source | Full fat coconut cream (thick part) |
| Greek Yogurt | Texture and tang | Sour cream or strained labneh |
| Monk Fruit | Sweetness without sugar | Allulose or erythritol |
| Cocoa Powder | Core flavor | Melted dark chocolate (adjust sweetener) |
The Full List:
- 2 cups (480ml) heavy cream, chilledWhy this? Provides the necessary fat for a smooth scoop
- 1 cup (240ml) plain Greek yogurt, full fatWhy this? Adds protein and prevents iciness
- ¾ cup (150g) monk fruit sweetenerWhy this? Keeps it low carb and sugar-free
- ½ cup (45g) unsweetened cocoa powderWhy this? Intense chocolate base
- 1 tsp (5ml) vanilla extract
- ¼ tsp (1.5g) fine sea saltWhy this? Cuts the sweetness and boosts cocoa
- 2 tbsp (30ml) hot water
- ½ cup (85g) dark chocolate chips, mini
- ½ cup (60g) crushed chocolate wafers
- ¼ cup (60ml) sugar-free chocolate syrup
Substitution Tips:
- Heavy Cream: Use full fat coconut milk for a dairy-free version, but it will taste slightly coconutty.
- Greek Yogurt: Sour cream works, but the taste is a bit more pungent.
- Monk Fruit: Maple syrup works for a natural sweetener, but you'll need to reduce the hot water.
Gear You Will Need
Professional gear isn't required, although some tools can simplify the process. A hand mixer or a stand mixer like a KitchenAid is ideal for the cream. If you're using a traditional churner, ensure the bowl has stayed in the freezer for at least 24 hours.
For those using Chocolate Ninja Creami Recipes, you will only need the specific pint containers that accompany the machine. A rubber spatula is also essential for gently folding the ingredients to avoid deflating the cream.
Lastly, have a freezer safe container ready for the final set. A shallow plastic tub is more effective than a deep bowl, as it allows the ice cream to freeze more uniformly.
From Prep to Plate
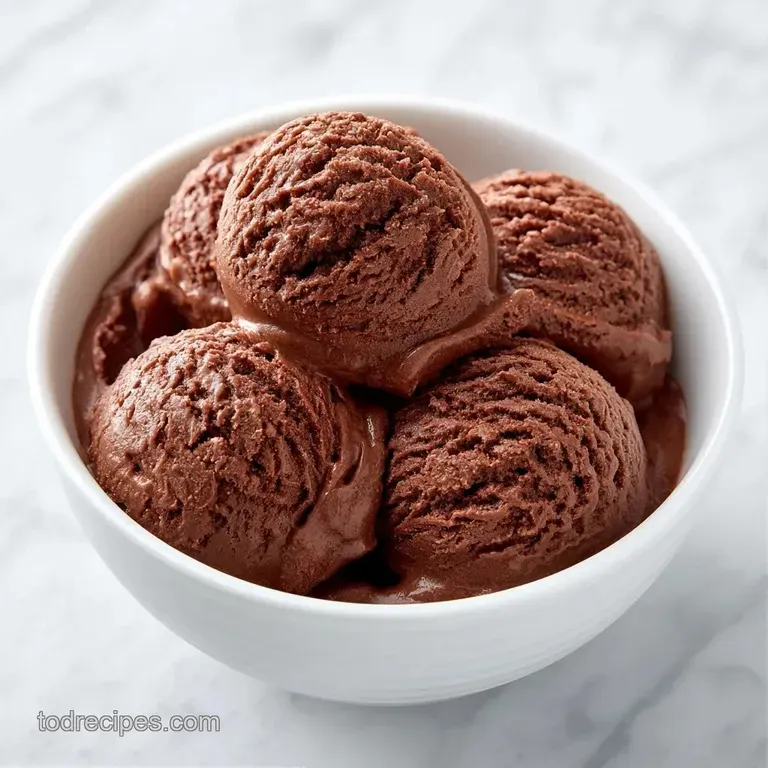
Let's crack on. Follow these steps exactly to get that thick, rich consistency.
- Combine the cocoa powder and hot water in a small bowl. Stir until a thick, smooth paste forms. Note: This removes the lumps and brings out the chocolate aroma.
- Pour the chilled heavy cream, monk fruit sweetener, and salt into a large mixing bowl.
- Beat the cream mixture until soft peaks form. It should look like thick clouds, not stiff butter.
- Gently fold in the Greek yogurt and vanilla extract using a spatula.
- Add the bloomed cocoa paste to the bowl. Stir slowly until the mixture is a uniform, deep chocolate hue.
- Pour your Chocolate Ice Cream mix into your ice cream maker and churn according to the manual. If using a Ninja Creami, pour into the pint and freeze for 24 hours on a level surface.
- Once it reaches a soft serve consistency, fold in the mini chocolate chips and crushed wafers.
- Transfer the mix to a final container.
- Swirl in the chocolate syrup using a knife until you see distinct ribbons of sauce.
- Freeze for an additional 2 hours until it is firm enough to scoop.
Chef's Note: If you want a deeper flavor, add a teaspoon of instant espresso powder to the hot water when blooming the cocoa. It doesn't make it taste like coffee, it just makes the chocolate taste "more" like chocolate.
Solving Common Issues
Sometimes the texture doesn't hit the mark. If your Chocolate Ice Cream is too hard, it's usually because the freezer is too cold or there isn't enough fat in the base. Let it sit on the counter for 5-10 minutes before scooping.
When the texture feels grainy, it's usually a sweetener issue. Some monk fruit blends don't dissolve fully in cold cream. To fix this, you can pulse the sweetener in a blender before adding it to the cream.
If you're using a Creami and the top looks crumbly after the first spin, don't panic. Just add a splash of heavy cream and hit the "re spin" button. It smooths everything out instantly.
| Problem | Root Cause | Solution |
|---|---|---|
| Icy crystals | Not enough fat or too much air | Use full fat yogurt and don't over beat cream |
| Grainy mouthfeel | Undissolved sweetener | Blend sweetener into a powder first |
| Too soft/soupy | Not frozen long enough | Ensure a full 24h freeze + 2h set |
| Bland flavor | Cocoa wasn't bloomed | Stir cocoa into hot water first |
Mix ins and Swaps
You can easily tweak this Death by Chocolate Ice Cream Recipe to suit your mood. If you want something a bit more complex, try adding a swirl of salted peanut butter. Just microwave the peanut butter for 20 seconds so it's pourable.
For a Death by Chocolate Ice Cream easy twist, fold in some crushed pretzels. The salt against the dark cocoa is a winning combo. If you need a Death by Chocolate Ice Cream quick version, you can use a pre made low sugar chocolate shake as the base, though you'll lose some of the texture control.
If you're looking for something even lighter, check out my Recipe for 4 Servings for a high protein alternative. For those who love a little extra crunch, adding toasted hazelnuts or a swirl of orange marmalade creates a sophisticated profile.
Decision Shortcut:
- Extra richness? → Add 1 tbsp extra cocoa powder
- More crunch? → Increase wafers to 3/4 cup
- Less sweet? → Reduce monk fruit by 2 tbsp
Saving Your Scoops
Keep this Chocolate Ice Cream in a freezer safe container with a tight lid. To prevent ice crystals from forming on the surface, press a piece of parchment paper directly onto the top of the ice cream before sealing the lid. This blocks the air from hitting the cream.
It stays good in the freezer for about 2 months. After that, it might start to pick up "freezer smells" or lose its creamy texture. Because of the Greek yogurt, it holds up better than a standard custard base, but it still has a shelf life.
For zero waste, if you have a bit of melted ice cream left in the bowl, don't toss it. Pour it over a warm brownie or use it as a thick chocolate glaze for a cake. You can also freeze these leftover bits in an ice cube tray to use as "chocolate drops" in a smoothie later.
Best Serving Ideas
This dessert is heavy, so pair it with something fresh. Fresh raspberries or sliced strawberries cut through the richness of the by Chocolate Ice Cream perfectly. A sprig of mint on top makes it look like it came from a shop.
If you're feeling fancy, use this as a base for a Death by chocolate ice cream cake. Layer the scoops between thin chocolate wafers and freeze again for 4 hours. It makes for an impressive centerpiece that doesn't require hours of baking.
Right then, you're all set. Whether you're using a churner or a Creami, the key is patience. Take your time with the blooming and the freezing, and you'll have a treat that puts store-bought pints to shame. Enjoy this Chocolate Ice Cream.
Recipe FAQs
How to make chocolate ice cream at home?
Combine cocoa powder and hot water into a paste first. Then beat heavy cream with monk fruit and salt before folding in the Greek yogurt.
Can I improve my brownie ice cream sandwich texture?
Use full fat Greek yogurt to stabilize the base. This prevents the ice cream from freezing into a brick and maintains a creamy scoop.
Which syrup is best for topping?
Choose sugar-free chocolate syrup for the best flavor balance. It swirls easily into the frozen mixture to create rich ribbons.
Is it true that cocoa can be mixed directly into cold cream?
Actually, no. You must bloom the cocoa with hot water first to eliminate dry clumps and deepen the chocolate flavor.
Does homemade ice cream require a professional machine?
Surprisingly, no. A Ninja Creami pint or a standard ice cream maker both work perfectly to achieve a dense, professional texture.
Could I swap the sweetener?
You can use other low-sugar options that match the sweetness of monk fruit. If you want a higher protein version, see how the same creamy logic works in our Greek yogurt recipe.
Why did my ice cream turn out icy?
This usually happens if the heavy cream wasn't beaten to soft peaks first. Incorporating enough air is essential for a smooth, scoopable consistency.
Guilt Free Chocolate Ice Cream