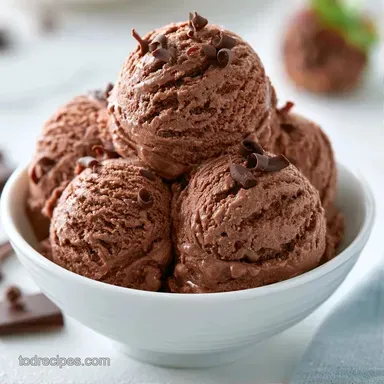
Fudgy Dark Chocolate Ice Cream
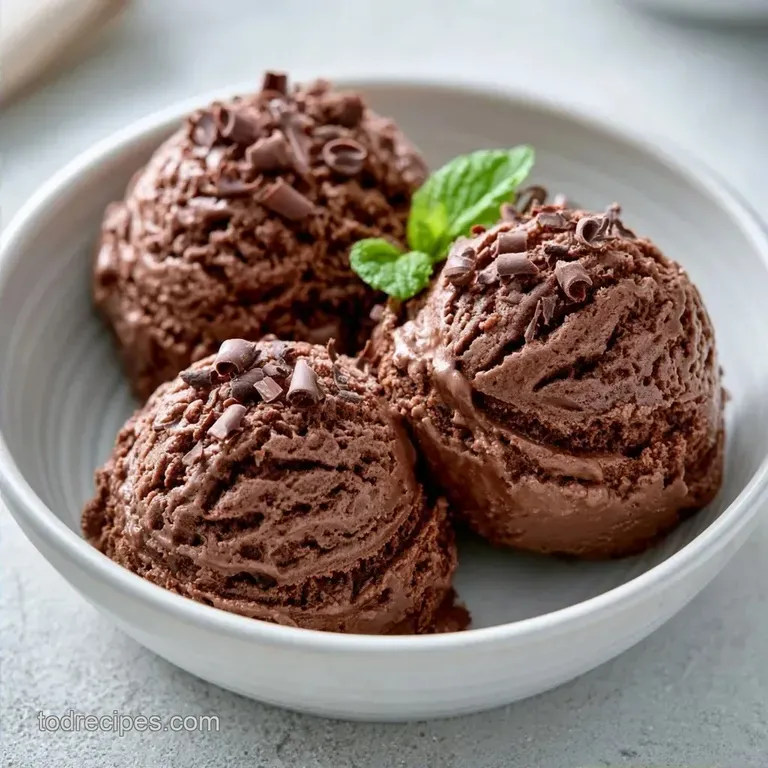
- Time: 20 min active + 4 hours 20 mins chilling
- Flavor/Texture Hook: Dark mahogany hue with a thick, fudgy consistency
- Perfect for: Chocolate lovers and effortless weekend dessert projects
The scent of warming cocoa wafts through the room, reminiscent of a rich chocolate syrup. I still recall my first try I simply whisked the cocoa into cold milk. It turned into a grainy, sandy disaster that felt like eating frozen soil. It was a complete failure.
However, heating the mixture changed everything. The cocoa fully dissolves and the cream's fats emulsify, giving this Dark Chocolate Ice Cream a luxurious, velvety texture on the palate.
You don't need an expensive kitchen setup to achieve these results. With a few simple ingredients and some patience during the chilling process, you can create a gourmet dessert that rivals any luxury creamery without spending a fortune.
Why the Base Matters
- Heat Treatment: Warming the cocoa and sugar ensures every grain dissolves. According to Serious Eats, controlling the temperature of the base prevents the sugar from crystallizing, which keeps the texture smooth.
- Fat Balance: Combining bittersweet chocolate with heavy cream creates a stable emulsion. This stops the ice cream from turning into a block of ice.
| Method | Prep Time | Texture | Best For |
|---|---|---|---|
| Stovetop Base | 20 min | Dense and Fudgy | Ice Cream Makers |
| Cold Mix | 5 min | Icy/Grainy | Quick Freezers |
| No Churn | 10 min | Airy/Foamy | No Equipment |
Tools You'll Need
You only need a few basics. A heavy bottomed saucepan is a must so the milk doesn't burn on the bottom. Use a whisk for the cocoa, as it tends to clump. A fine mesh strainer is the real hero here, catching any stray bits of undissolved chocolate. Finally, you'll need your ice cream maker or a heavy duty processor.
What Goes Inside
| Ingredient | What It Does | Best Swap |
|---|---|---|
| Dutch processed cocoa | Deep color and bitterness | Natural cocoa (needs more sugar) |
| Bittersweet chocolate | Adds structure and richness | Semi sweet (makes it sweeter) |
| Heavy whipping cream | Provides the creamy mouthfeel | Full fat coconut milk (adds coconut notes) |
| Whole milk | Balances the fat content | Oat milk (keep it creamy) |
The choice of cocoa is important. Dutch processed cocoa is treated with alkali, which makes it darker and less acidic. It blends into the milk much easier than natural cocoa powder.
Timing and Yield
- Prep time: 20 minutes
- Cook time: 7 minutes
- Total time: 4 hours 27 mins
- Yield: 8 servings
Chef Note: Don't rush the 4 hour chill. If the base is even slightly warm, it'll melt the ice in your machine and create those annoying ice crystals.
Making the Ice Cream
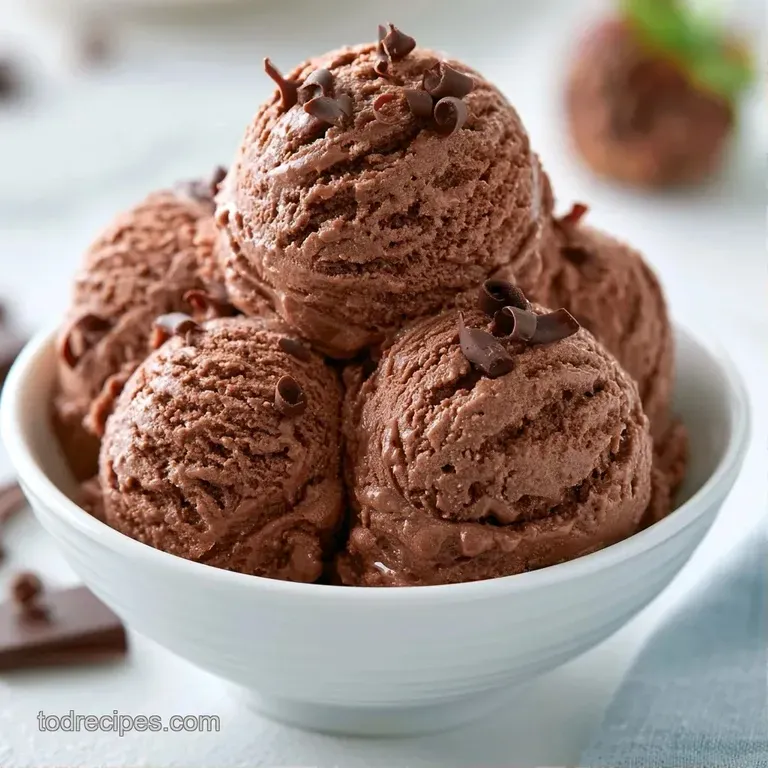
- Whisk the cocoa powder and granulated sugar in a heavy saucepan over medium heat. Slowly pour in the whole milk while whisking constantly.
- Heat the mix until it just begins to simmer and looks like a smooth, mahogany syrup. Remove it from the heat immediately.
- Stir in the finely chopped bittersweet chocolate and sea salt. Whisk until the chocolate is completely melted and glossy.
- Stir in the vanilla extract and heavy whipping cream. Pass the whole mix through a fine mesh strainer into a bowl. Note: This removes any lumps for a silky finish.
- Cool the mixture using an ice bath or let it sit on the counter.
- Cover and refrigerate for 4 hours until ice cold.
- Churn in your ice cream maker following the manufacturer's directions.
- Transfer to a container and freeze until firm.
Fix Common Texture Issues
Fixing Grainy Texture
If the ice cream feels sandy, the cocoa didn't dissolve. This usually happens if the base didn't hit a simmer. Next time, make sure the mixture is glossy before adding the cream. You can try pulsing the finished product in a food processor to break up the grains, though it's not a perfect fix.
Stopping Icy Edges
Ice crystals form when moisture evaporates or the base is too warm. To prevent this, press a piece of wax paper directly onto the surface of the ice cream before freezing. This blocks air from hitting the cream.
Handling Hard Freezing
Dark chocolate can get very firm. If you can't scoop it, let the container sit on the counter for 5 to 10 minutes. For a more scoopable result, you can add a tablespoon of vodka or corn syrup to the base, which lowers the freezing point.
Keeping It Fresh
Store your Dark Chocolate Ice Cream in a freezer safe container with a tight lid. It stays fresh for about 2 weeks. After that, the edges might start to get a bit frosty.
For zero waste, if you have a little bit of base left over that you didn't churn, freeze it in ice cube trays. You can drop these chocolate cubes into a smoothie or a glass of milk for an instant chocolate treat.
Mix Ins and Twists
You can easily change the vibe of this recipe. For something with a bit of crunch, fold in toasted hazelnuts or sea salt flakes during the last 5 minutes of churning. If you love a bit of texture, my Chocolate Chip Ice Cream uses a similar base but adds those classic chips.
For an adult version, stir in a tablespoon of espresso powder or a splash of dark rum. If you want a lighter option, you might prefer a Protein Ice Cream approach, though it won't have that same heavy chocolate hit.
| Goal | Adjustment | Result |
|---|---|---|
| For a firmer set | Chill base 12 hours | Denser scoop |
| For more bitterness | Use 70% cocoa chocolate | Darker flavor |
| For a softer bite | Add 1 tbsp corn syrup | Easier to scoop |
Pairing Your Dessert
Because this treat is so decadent, it pairs beautifully with bright or acidic flavors. Sliced strawberries or fresh raspberries help emphasize the fruity notes of the dark chocolate. To give it a gourmet, restaurant style feel, top it with a dollop of whipped cream and a fresh mint leaf.
If you are feeding a larger group, consider making Dark Chocolate Ice Cream bars. Simply pour the churned mixture into popsicle molds and freeze for 6 hours. For a professional touch, dip the frozen bars in melted chocolate and finish with a sprinkle of flaky salt.
Now you're all set. Just ensure your base stays ice cold, and you'll have a homemade Dark Chocolate Ice Cream that easily beats any store-bought pint. Let's get churning!
Recipe FAQs
How to make chocolate ice cream at home?
Whisk cocoa and sugar into simmering milk, then stir in melted bittersweet chocolate and salt. Mix in vanilla and cream, chill for 4 hours, and then churn.
Is it true that dark chocolate ice cream is a healthy dessert?
No, and here's why. While dark chocolate has some benefits, the high sugar and heavy cream content make this a rich treat.
What are the best toppings for this flavor?
Fresh raspberries or a drizzle of warm fudge work beautifully. You could also use a chocolate sauce to add extra richness.
Can I use milk chocolate instead of bittersweet?
You can, though the result will be much sweeter and less intense. I'd suggest reducing the granulated sugar slightly to keep the cocoa flavor prominent.
Why did my chocolate base turn out grainy?
This usually happens when the cocoa powder doesn't fully dissolve in the milk. Heat the mixture until it just begins to simmer and whisk constantly for a smooth finish.
Which steps ensure a fudgy consistency?
Refrigerate the base for at least 4 hours before churning to properly stabilize the fats. This prevents ice crystals from forming and creates a dense mouthfeel.
Dark Chocolate Ice Cream