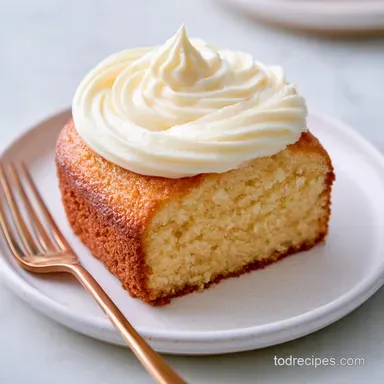
Easter Cake with Vanilla Frosting: Tender and Fluffy
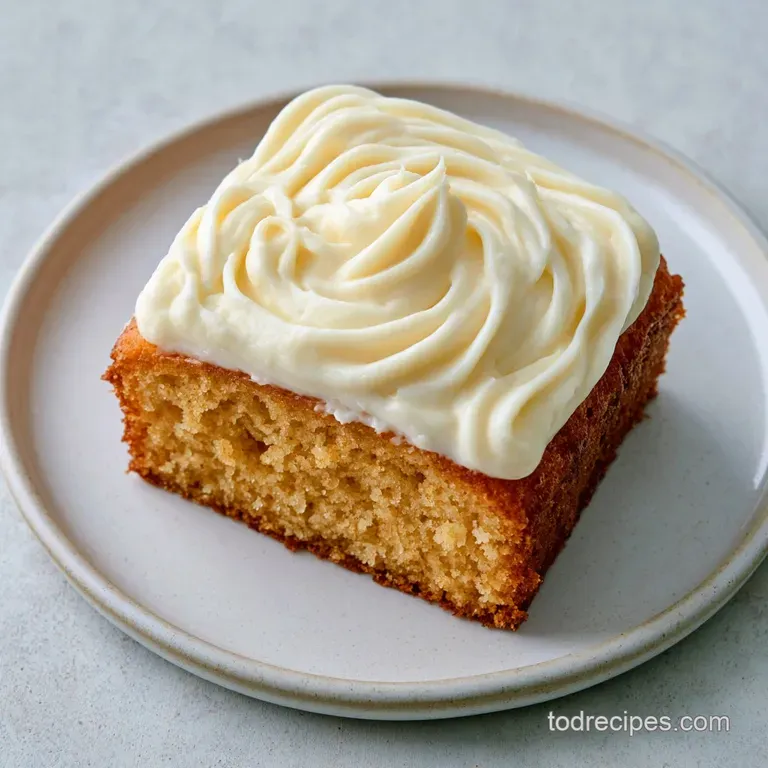
- Time: 45 min active + 2 hours chilling = Total 3 hours 15 mins
- Flavor/Texture Hook: Velvety buttercream with a fluffy, tender cake base
- Perfect for: Family Easter brunch or a spring celebration dessert
- Easter Cake Recipe with Vanilla Frosting
- The Trick Behind the Texture
- Component Analysis
- Gathering Your Essentials
- Equipment Needed
- The Cooking Process
- Common Mistakes & Troubleshooting
- Dietary Adaptations
- Adjusting the Batch Size
- Baking Myths Debunked
- Storage Guidelines
- Presentation Tips
- Recipe FAQs
- 📝 Recipe Card
Easter Cake Recipe with Vanilla Frosting
The smell of toasted coconut and warm vanilla hitting the air is, for me, the official signal that spring has actually arrived. I remember one particular Easter about six years ago when I tried to be a bit too fancy with a tiered cake.
I didn't level the layers properly, and as I set it on the table, the whole thing started to lean precariously to the left, looking more like the Tower of Pisa than a dessert. My kids thought it was a "slumping cake," and we spent the afternoon laughing while eating it with spoons straight from the plate.
That disaster taught me that you don't need complex architecture to impress people. What you actually need is a cake that stays moist, a frosting that doesn't slide off the sides, and a few simple decorations that make it look intentional. This recipe is the result of those lessons.
It's a reliable, budget smart bake that focuses on texture and flavor rather than fancy equipment.
We've kept the ingredients simple here. You won't find any weird stabilizers or overpriced extracts. Instead, we rely on the way butter and sugar interact to create that classic, nostalgic taste. Whether you're a seasoned baker or someone who usually burns toast, this one is designed to be foolproof.
The Trick Behind the Texture
I used to think that the order of ingredients didn't really matter as long as they all ended up in the bowl. I was wrong. The secret to this cake isn't a magic ingredient, but rather the mechanical process of how we combine them.
Air Incorporation: Beating the butter and sugar until pale creates tiny air pockets that the baking powder then expands, giving you a fluffy lift.
The Emulsion Effect: Adding eggs one at a time prevents the batter from "splitting," which ensures the cake has a uniform, velvety crumb.
Gluten Control: Alternating the dry ingredients with the milk stops you from overworking the flour, which prevents the cake from becoming tough or bread like.
Fat Stabilization: Using softened butter in the frosting allows it to whip into a light, airy cloud rather than a dense, sugary paste.
| Method | Time | Texture | Best For |
|---|---|---|---|
| Standard Oven | 30 minutes | Uniform and airy | Large family gatherings |
| Air Fryer | 20-25 minutes | Slightly denser edges | Small batches/single layers |
Right then, let's look at what's actually happening inside the bowl. Most people just see flour and sugar, but there's a bit of a dance going on to make sure this doesn't turn into a brick.
Component Analysis
| Ingredient | Science Role | Pro Secret |
|---|---|---|
| All purpose flour | Provides the structure | Sifting prevents clumps in the frosting and cake |
| Baking powder | Creates the lift | Check the expiration date; old powder means flat cake |
| Unsalted butter | Adds moisture and flavor | Softened, not melted, to keep air bubbles intact |
| Whole milk | Hydrates the flour | Room temperature prevents the butter from seizing |
When you're shopping for these, don't feel the need to buy the most expensive organic versions. The quality of the technique matters more than the brand of the flour. However, I always tell my friends to splurge slightly on the vanilla extract if they can, as that's where the primary flavor profile lives.
Gathering Your Essentials
For the cake base, you'll need the following. I've included some budget friendly swaps in case you're missing something in the pantry.
For the Vanilla Cake
- 2 ½ cups (315g) All purpose flourWhy this? Provides a sturdy but tender structure
- 1 ½ cups (300g) Granulated sugarWhy this? Standard sweetness and helps with browning
- 1 tbsp (12g) Baking powderWhy this? Essential for that springy lift
- ½ tsp (3g) SaltWhy this? Balances the sugar
- ¾ cup (170g) Unsalted butter, softenedWhy this? Creates the fluffy base
- 3 large (150g) Eggs, room temperatureWhy this? Binds the cake and adds richness
- 1 cup (240ml) Whole milk, room temperatureWhy this? Keeps the crumb moist
- 2 tsp (10ml) Pure vanilla extractWhy this? The heart of the flavor
For the Easy Vanilla Frosting
- 1 cup (225g) Unsalted butter, softenedWhy this? The base for the buttercream
- 3 cups (360g) Powdered sugar, siftedWhy this? Gives the frosting its structure
- 2 tbsp (30ml) Heavy creamWhy this? Adjusts the consistency
- 1 tsp (5ml) Pure vanilla extractWhy this? Complements the cake
- 1g SaltWhy this? Cuts through the sweetness
For the Easter Decorations - 1 cup (20g) Unsweetened shredded coconut, toasted - ½ cup (60g) Mini candy eggs
| Original Ingredient | Substitute | Why It Works |
|---|---|---|
| Whole Milk (1 cup) | Buttermilk (1 cup) | Adds a slight tang and extra tenderness |
| All purpose flour | 1:1 GF Flour blend | Similar structure. Note: May be slightly denser |
| Heavy Cream (2 tbsp) | Whole Milk (2 tbsp) | Similar liquid ratio. Note: Frosting will be less velvety |
| Unsalted Butter | Salted Butter | Works fine. Note: Omit the extra salt in the recipe |
If you're looking to add more variety to your spring menu, this cake pairs brilliantly with a Honey Glazed Spiral Ham for a complete traditional feast.
Equipment Needed
You don't need a professional bakery to pull this off. A few basic tools will do the trick. I personally use a stand mixer such as KitchenAid, but a hand mixer works just as well.
- Two 8 inch round cake pans
- Parchment paper (don't skip this, or you'll be scraping cake off the bottom for an hour)
- Electric mixer (hand or stand)
- Large mixing bowls
- Sifter or fine mesh strainer
- Offset spatula or a butter knife for frosting
- Wire cooling rack
The Cooking Process
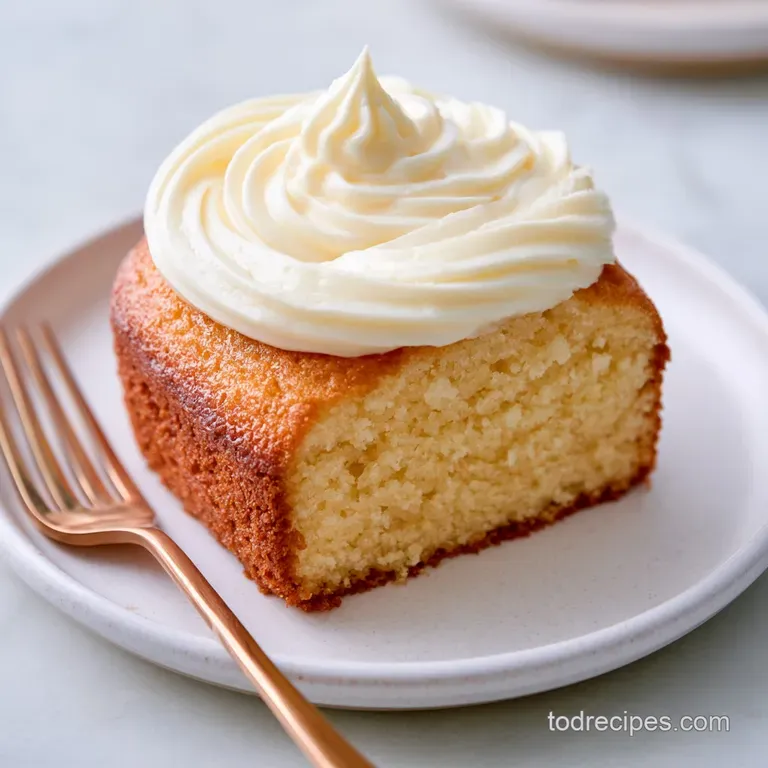
Let's get into it. The key here is patience, especially with the cooling. If you frost a warm cake, you'll end up with a vanilla soup.
Phase 1: Baking the Foundation
- Grease two 8 inch round cake pans and line the bottoms with parchment paper to ensure a clean release. Note: This prevents the "cake stuck to the pan" tragedy.
- Beat softened butter and granulated sugar together using a mixer until the mixture looks pale and fluffy. Wait for it to look almost white, usually about 3-5 minutes.
- Add eggs one at a time, beating after each addition, then stir in the vanilla extract. Note: Beating each egg fully incorporates the fat.
- Gradually add flour, baking powder, and salt, alternating with the milk. Mix until just combined; do not overmix. Stop as soon as the flour streaks disappear.
- Pour the batter evenly into the prepared pans. Bake for 30 minutes until the edges slightly pull away from the sides and a toothpick inserted in the center comes out clean.
- Let the cakes rest in the pans for 10 minutes before transferring them to a wire rack to cool completely.
Phase 2: Whipping the Simple Vanilla Frosting
- Beat the softened butter for the frosting on medium high for 3 minutes until it reaches a pale ivory color.
- Gradually add powdered sugar one cup at a time on low speed until incorporated. Note: Low speed prevents a sugar cloud from taking over your kitchen.
- Mix in the heavy cream, vanilla extract, and salt, then whip until the buttercream is light and fluffy.
Phase 3: The Designer Finish
- Frost the cooled cake layers and chill for 2 hours to ensure frosting stability.
- Decorate the cake with toasted shredded coconut and mini candy eggs.
Chef's Tip: To toast your coconut without burning it, put it in a dry skillet over medium heat and stir constantly for 2-3 minutes. It goes from golden to burnt in about five seconds, so stay focused!
Common Mistakes & Troubleshooting
Baking is a science, but it's a science where things go wrong. I've seen everything from sunken centers to frosting that looks like melted ice cream. Most of these are easy fixes if you know what to look for.
| Issue | Solution |
|---|---|
| Why Your Cake Sank in the Middle | This usually happens because the oven door was opened too early, letting out the heat, or the baking powder was expired. If the structure hasn't set, the air bubbles collapse. |
| My Frosting is Too Runny | Usually, this is due to the butter being too warm or adding too much cream. You can fix this by chilling the frosting for 15 minutes and then whipping it again. |
| Cake Crumbly When Frosting | You're likely dealing with "loose crumbs" that get mixed into the frosting. The best fix is to wrap the cooled cakes in plastic and put them in the freezer for 30 minutes before frosting. |
Common Mistakes Checklist
- ✓ Ingredients are truly room temperature (not just "lukewarm").
- ✓ Oven was preheated for at least 15 minutes before the cake went in.
- ✓ Cake was completely cold before the first layer of frosting was applied.
- ✓ Powdered sugar was sifted to avoid lumps in the buttercream.
- ✓ Flour was measured by spooning it into the cup, not packing it down.
Dietary Adaptations
Since I love making sure everyone can have a slice, I've tested a few ways to tweak this vanilla cake and vanilla frosting recipe for different needs.
Can I make this gluten-free?
Yes, you can. Use a high-quality 1:1 gluten-free flour blend that contains xanthan gum. You might find the cake is slightly more fragile, so let it cool completely in the pan before trying to move it.
For more tips on gluten-free structures, King Arthur Baking suggests that using a consistent all purpose flour helps maintain stability, and the same logic applies to GF blends.
How do I make it dairy-free?
Swap the unsalted butter for a high-quality vegan butter stick (not the tub kind, which is too soft). Use an unsweetened almond or soy milk for the batter. The flavor remains remarkably similar, though the frosting may melt slightly faster at room temperature.
Want a citrus twist?
If you want something a bit brighter, replace the vanilla extract in the cake with lemon extract or add a tablespoon of lemon zest to the batter. If you're feeling really adventurous, you can layer some Homemade Lemon Curd between the cake layers for a tart contrast to the sweet frosting.
Adjusting the Batch Size
Sometimes you don't need a massive double layer cake. Here is how to scale this without ruining the ratios.
Scaling Down (Half Batch) If you only want one 8 inch layer, halve all ingredients. For the egg, crack one into a bowl, beat it, and use half of it by weight or volume. Reduce baking time by about 20%, but still use the toothpick test.
Scaling Up (Double Batch) When doubling, don't just double the salt and baking powder increase them by 1.5x instead to avoid a metallic taste. Work in batches if your mixer is small; overloading the bowl prevents the butter and sugar from aerating properly.
For baking, lower the oven temperature by 25°F (about 15°C) and extend the time slightly to ensure the center cooks through without burning the edges.
| Goal | Action | Result |
|---|---|---|
| Lighter Cake | Add 1 extra egg white | More lift, slightly leaner |
| Richer Flavor | Use browned butter | Nutty, toasted taste |
| Denser Crumb | Reduce baking powder by 1/4 tsp | More like a pound cake |
Baking Myths Debunked
I've heard a lot of "old wives' tales" in the kitchen, and while some are helpful, others just lead to frustration.
Myth 1: You must "cream" butter and sugar for 10 minutes. You don't need that much time. 3 to 5 minutes is plenty. If you over beat, you can actually incorporate too much air, which causes the cake to rise too quickly and then collapse.
Myth 2: Room temperature eggs are just a suggestion. They are not! Cold eggs will shock the creamed butter and cause it to clump back up. This ruins the emulsion and leads to a denser cake.
Myth 3: Sifting flour is a waste of time. For bread, maybe. For a vanilla cake, it's essential. Sifting removes clumps and aerates the flour, which is a big part of how we get that "shatter free" tender crumb.
Storage Guidelines
To keep your cake tasting fresh, you have to be smart about how you store it, especially with that buttercream frosting.
Fridge Storage Keep the cake in an airtight container or a cake dome in the fridge for up to 5 days. Because the frosting is butter based, it will harden in the cold. Let a slice sit at room temperature for 20 minutes before eating so the frosting becomes velvety again.
Freezing Tips You can freeze the cake layers without frosting for up to 3 months. Wrap them tightly in two layers of plastic wrap and a layer of foil. Thaw them in the fridge overnight before frosting. I don't recommend freezing the fully frosted cake, as the texture of the buttercream can change.
Zero Waste Ideas If you have leftover frosting, don't toss it! Put it in a small jar and use it as a dip for apple slices or spread it on a piece of toast for a decadent breakfast.
If you have leftover cake scraps from leveling, crumble them up and mix them with a bit of frosting to make "cake pops" for the kids.
Presentation Tips
Since this is an Easter cake, the look is half the fun. You want it to look celebratory but not like you spent ten hours on it.
The "Rustic" Look Instead of trying to get perfectly smooth sides, use your spatula to create "swoops" and swirls in the frosting. It looks intentional and hides any imperfections in the cake layers.
The Coconut Nest Place the toasted coconut in a ring around the top edge of the cake. Then, nestle the mini candy eggs into the coconut. It looks like a little bird's nest and adds a great textural crunch.
Adding Color If you want a pop of color, you can add a tiny drop of pastel food coloring to the frosting. Just a pinch of pink or yellow makes it feel very "spring."
Decision Shortcut
- If you want a modern look, do a "naked cake" style with very thin frosting on the sides.
- If you want a classic look, frost it thick and use a piping bag for borders.
- If you're in a rush, skip the sides and just frost the top and middle layer.
Recipe FAQs
What cake to make for Easter easily?
This vanilla cake with vanilla frosting. It uses simple pantry staples and a straightforward beating method that is difficult to mess up.
What is the 1234 rule for cake?
A simple ratio of 1 part butter, 2 parts sugar, 3 parts eggs, and 4 parts flour. While this recipe uses precise weights for a better crumb, the 1234 rule is a common baseline for basic pound cakes.
How to fancy up a vanilla cake?
Decorate with toasted shredded coconut and mini candy eggs. These toppings add festive color and seasonal texture without requiring extra baking time.
What are the most popular Easter cake flavors?
Vanilla, lemon, and carrot cake. Vanilla is a timeless choice because it pairs perfectly with colorful decorations. If you enjoyed the light crumb of this vanilla cake, see how a similar texture is achieved in our Coconut Cake.
What if my glaze is too runny?
Beat in more powdered sugar one tablespoon at a time. If the buttercream remains too soft, chill the cake for 2 hours to ensure the frosting stabilizes.
Why did my cake sink in the middle?
The oven door was likely opened too early. This lets out heat and causes air bubbles to collapse before the structure has set; expired baking powder can also cause this.
How to avoid a dome top on the cake?
Level the cooled cake layers with a serrated knife. To prevent a high dome during baking, make sure you do not overmix the batter after adding the flour.
Easter Cake With Vanilla Frosting