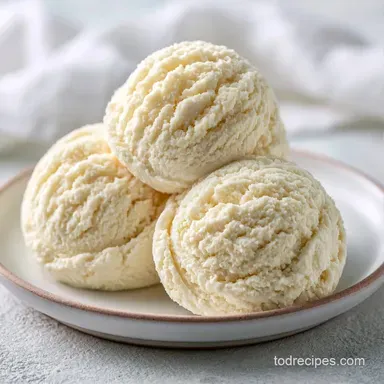
Creamy Protein Ice Cream with Greek Yogurt
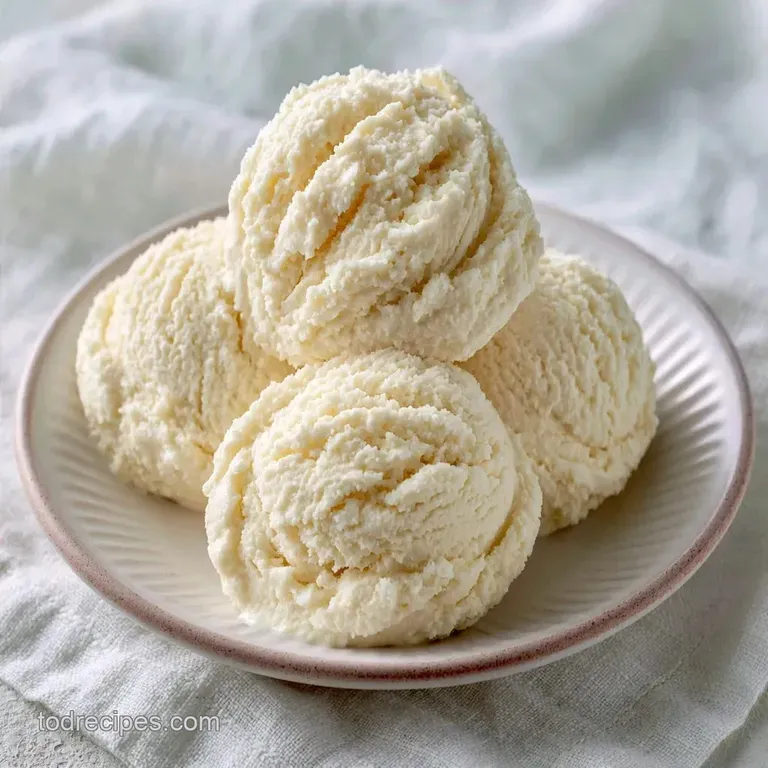
- Time: 5 min active + 6 hours 10 mins chilling
- Flavor/Texture Hook: Thick, soft serve consistency with a clean vanilla finish
- Perfect for: Post workout treats or a high protein midnight snack
The high pitched whir of a blender is usually the sound of a morning smoothie, but for me, it's the sound of a dessert win. Have you ever tried those "healthy" frozen treats that end up feeling like you're chewing on a sweetened ice cube?
I've spent a lot of time staring at frozen blocks of protein shake, wondering why they never felt like actual dessert.
The problem usually comes down to air and stabilizers. Most high protein recipes just freeze a liquid and hope for the best. But real ice cream relies on tiny air bubbles and fat to keep things soft.
By adding a specific dairy base and a second blend, we can trick the freezer into giving us something that feels like a treat rather than a chore to eat.
You can expect a result that's dense and satisfying. This Protein Ice Cream doesn't rely on fancy machinery, just a standard blender and a bit of patience. It's a great way to get those extra macros in without feeling like you're eating a supplement.
Creamy Protein Ice Cream That Actually Works
Yogurt Stability: The thickness of Greek yogurt prevents large ice crystals from forming. This keeps the texture smooth.
Air Incorporation: Blending twice traps air into the mixture. This creates a lighter, softer feel in the final scoop.
Protein Structure: The powder acts as a binder for the liquid. It helps the cream with protein hold its shape during the freeze.
Necessary Tools for the Job
No fancy equipment is required here. A regular high speed blender is your best option, although a food processor can handle the final pulse. For the best results, use a shallow container rather than a deep bowl to ensure everything freezes evenly.
2 Must Have Tools
A silicone spatula is vital for scraping down the sides of the blender. This prevents any protein powder clumps from making it into your final batch.
Gathering Your Base Ingredients
Right then, let's look at what goes into the mix. I prefer using vanilla whey because it blends the most seamlessly, but casein can make it even thicker. If you're avoiding dairy, there are a few swaps that still keep the texture right.
| Ingredient | What It Does | Best Swap |
|---|---|---|
| Almond Milk | Liquid base | Soy milk (thicker) |
| Greek Yogurt | Adds creaminess | Skyr or strained yogurt |
| Protein Powder | Structure/Protein | Collagen (less thick) |
| Maple Syrup | Natural sweetness | Honey or agave |
For the Protein Base
- 1 cup unsweetened almond milk
- 1/2 cup plain non fat Greek yogurt Why this? Acts as a stabilizer to prevent iciness
- 1 scoop vanilla whey or casein protein powder Why this? Provides the main structure and flavor
- 2 tbsp maple syrup Why this? Prevents the mix from freezing rock solid
- 1/2 tsp vanilla extract
- 1 pinch sea salt Why this? Brightens the vanilla notes
Quick Recipe Specs
Before we crack on, here is the breakdown. This makes two generous servings.
| Metric | Value |
|---|---|
| Prep Time | 5 minutes |
| Cook Time | 0 minutes |
| Total Time | 6 hours 10 mins |
| Yield | 2 servings |
Since we're focusing on minimal tools, I've compared the two most common methods for the final texture phase.
| Method | Texture Result | Effort |
|---|---|---|
| Blender Pulse | Velvety soft serve | Very Low |
| Manual Stir | Slightly icy/grainy | Medium |
Step-by-step Making Process
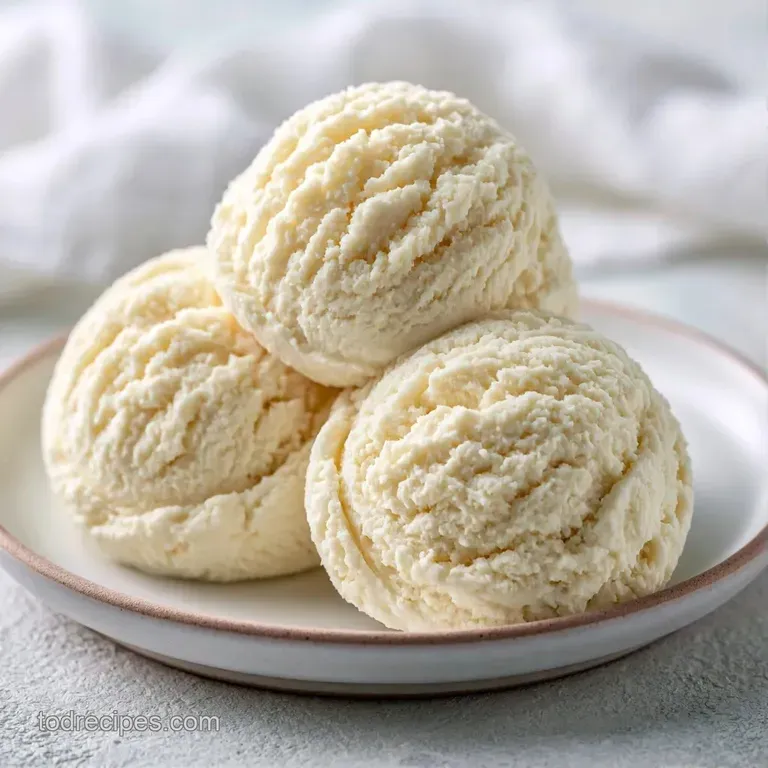
Follow these steps closely. The timing on the blending and the thawing is what separates a soft treat from a frozen block.
- Add the almond milk, Greek yogurt, protein powder, maple syrup, vanilla extract, and salt to your blender.
- Blend on high for 45-60 seconds until the mixture is completely smooth and air bubbles appear on the surface. Note: Those bubbles mean you've incorporated enough air for a lighter texture.
- Pour the mixture into a shallow, airtight freezer container.
- Smooth the top with a spatula to ensure an even freeze.
- Cover the top tightly with a lid or press parchment paper directly onto the liquid surface.
- Freeze for at least 6 hours until the mass is firm through the center.
- Remove the container from the freezer and let it sit at room temperature for 5 minutes. Note: This "tempering" step is the most important part for a good scoop.
- Transfer the frozen Protein Ice Cream back into the blender or food processor.
- Pulse for 20 seconds until it reaches a, soft serve consistency.
Fixing Common Texture Issues
Even with a simple method, frozen treats can be temperamental. Most issues come down to the ratio of liquid to solids or the temperature of the base before pulsing.
The Icy Texture
If your dessert feels like a popsicle, you likely had too much water or not enough fat in the base. You can fix this by adding a tablespoon of Greek yogurt and re pulsing.
The Rock Hard Result
When the mixture is too hard to blend, it just needs more time on the counter. Let it sit for another 5 minutes before attempting to pulse again.
A Chalky Aftertaste
This usually happens when the protein powder isn't fully hydrated. Ensure you blend for the full 60 seconds in the first phase to break down the powder clumps.
| Problem | Fix |
|---|---|
| Too Icy | Add 1 tbsp Greek yogurt and re blend |
| Rock Hard | Thaw for 5-10 mins before pulsing |
| Chalky | Blend for full 60 seconds initially |
Storage and Waste Tips
Once you've pulsed the mix, it's best to eat it immediately. However, you can put the remaining amount back in the freezer. Seal it tightly with plastic wrap touching the surface to stop ice crystals from forming. It stays good for about two weeks.
If it hardens again, don't just eat it as a block. Let it soften for 10 minutes or give it a quick 10 second pulse in the blender to bring back that cream with protein texture.
To avoid waste, if you have a small amount of Greek yogurt left in the container that you can't scoop out, toss it into your morning smoothie. You can also use the leftover vanilla extract from the bottle to scent some homemade sugar for your coffee.
Delicious Flavor Twists
After mastering the base, you can easily customize the flavor profile. The most important part is maintaining the liquid-to-powder ratio so the Protein Ice Cream freezes with the right consistency.
Chocolate Peanut Butter Twist
Replace the vanilla powder with chocolate. Once the final pulse is complete, stir in a tablespoon of natural peanut butter for a rich, dense result. This goes perfectly with a chocolate skillet dessert if you want something warm.
Strawberry Cheesecake Style
Include 1/4 cup of frozen strawberries in the initial blend. A pinch of lemon zest will provide that classic cheesecake tang.
Vegan and dairy-free Swap
Substitute with soy-based Greek yogurt and either pea or soy protein powder. The protein cream still works great, though it may be slightly more grainy than the whey version.
High Protein Ninja Creami Method
If using a Ninja Creami, skip the second blend. Freeze the first mixture for 24 hours and select the "Lite Ice Cream" setting.
| Goal | What to change |
|---|---|
| Thicker Texture | Add more Greek yogurt |
| Sweeter Taste | Increase maple syrup by 1 tbsp |
| Lighter Feel | Use casein instead of whey |
Best Pairings and Toppings
To make this feel like a proper dessert, you'll want some contrast. Because the base is so smooth and creamy, adding a bit of crunch or a sharp flavor works best.
The Crunch Factor
Toasted almond slivers or a sprinkle of cacao nibs provide a wonderful textural break. I also suggest a handful of frozen blueberries, which remain firm and pop in your mouth.
The Tart Topper
For a bit of brightness, try swirling in some lemon curd for a zesty kick. The tartness of the lemon balances the richness of the protein powder perfectly.
The Antioxidant Topper
A drizzle of melted dark chocolate or a few fresh raspberries makes this look like it came from a boutique shop. Skip the low-fat alternatives here; a few real chocolate chips make a world of difference.
When you finish your bowl of Protein Ice Cream, you'll notice it doesn't leave you feeling sluggish. It's a simple, minimal tool approach to a high protein treat that truly satisfies a sweet tooth. Now, get your blender ready and give it a go.
Recipe FAQs
How to make protein ice cream?
Blend almond milk, Greek yogurt, protein powder, maple syrup, vanilla, and salt on high for 45-60 seconds.
Tip: look for air bubbles on the surface to ensure a light texture.
Is it true that protein ice cream always tastes chalky?
No, this is a common misconception. High speed blending for a full minute smooths out the powder for a creamy finish.
Tip: use a casein blend protein powder for an even thicker result.
Which sweeteners work best as maple syrup substitutes?
Honey or agave syrup work well because they maintain the liquid consistency needed for blending.
Tip: this dessert pairs perfectly after a healthy meal like lemon herb tilapia.
What should I do if the mixture freezes too hard?
Let the frozen mass sit at room temperature for 5 minutes before pulsing in a blender for 20 seconds.
Tip: press parchment paper directly onto the surface before freezing to stop ice crystals from forming.
Creamy Protein Ice Cream