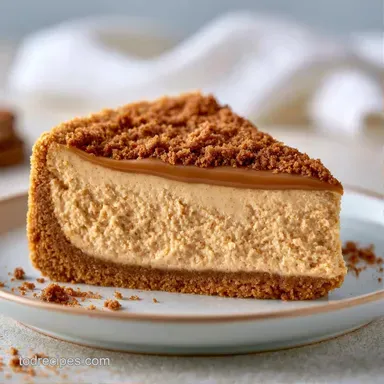
Baked Biscoff Cheesecake: Creamy
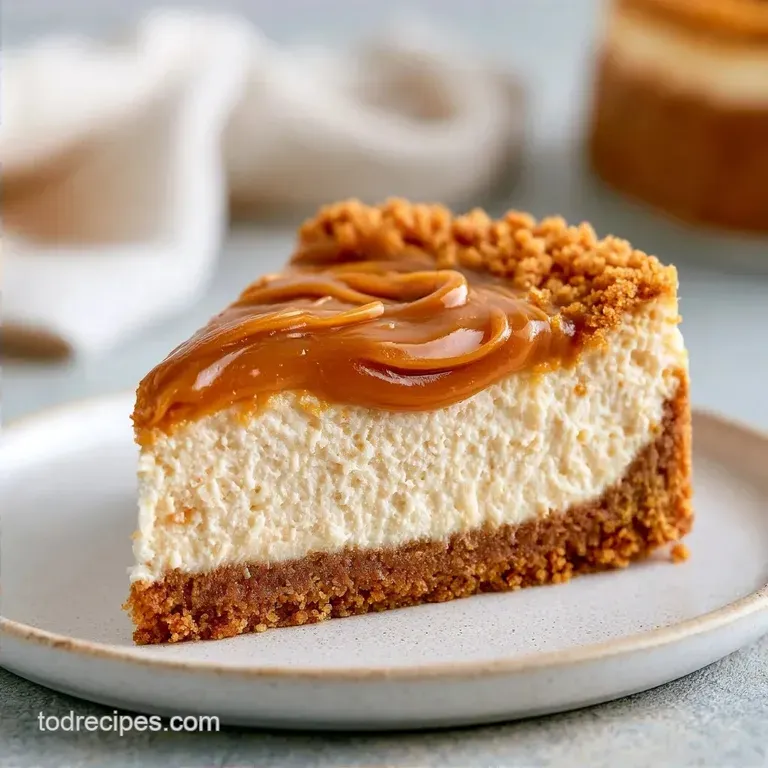
- Time: 20 min active + 6 hrs 60 mins chilling/baking
- Flavor/Texture Hook: Rich cinnamon tones with a dense, silky texture
- Perfect for: Festive gatherings or upscale dinner parties
The scent of caramelized brown sugar and toasted cinnamon fills the air as soon as the cake comes out. It's a comforting, warm aroma that makes the entire home feel inviting. When developing this recipe, I wanted to capture that professional bakery consistency something that feels hearty yet dissolves effortlessly on the tongue.
You don't require a professional pastry kitchen to master this. Success simply comes down to a bit of patience and ensuring your ingredients are at room temperature. This Biscoff Cheesecake pairs the intense sweetness of speculoos biscuits with a subtle tanginess from sour cream.
While indulgent, the dessert isn't cloying. The interplay between the crunchy cookie crust and the velvet smooth center provides a satisfying contrast that invites a second helping.
Easy Baked Biscoff Cheesecake
Here is what makes this particular method so effective. Many home bakers encounter issues with cheesecakes usually lumps because they rush the steps or use chilled ingredients.
Warm Ingredients: Ensuring your eggs and cream cheese are at room temperature keeps the batter from splitting. When the ingredients are thermally consistent, they emulsify into a silky texture without requiring excessive mixing.
Low and Slow: A gentle baking temperature ensures the middle is fully set before the outer edges overcook. This technique minimizes the risk of those frustrating surface cracks.
As for the consistency, if you prefer a lighter dessert, try my Mini Strawberry Cheesecakes recipe, but this specific flavor is best served as a dense bake.
| Method | Time | Texture | Best For |
|---|---|---|---|
| Baked | 7 hrs 20 mins | Dense & Rich | Traditional fans |
| No Bake | 4 hrs | Light & Airy | Quick summer treats |
The key difference is found in the egg proteins. Baking allows the eggs to create a stable structure for a heartier mouthfeel, whereas no-bake cakes depend on chilling or gelatin to create a mousse like quality.
Tools You Will Need
You can get by with basic gear, but a few specific items make this a lot easier. I highly suggest using a 9 inch springform pan. If you try to use a standard cake pan, you'll be fighting to get the cake out, and it'll likely break.
2 Must Have Tools
A handheld mixer or a stand mixer such as KitchenAid is essential here. You can't really whisk this by hand and expect it to be smooth. Also, get an offset spatula. It's the only way to get that flat, professional looking top before it goes into the oven.
Additional Essentials
You'll want a bowl for the cookie crumbs and a small microwave safe bowl for melting the Biscoff spread. Measuring cups and spoons are a given, but a kitchen scale is even better if you have one for more precise results.
Ingredient Breakdown
For the Biscoff Cheesecake, we're using a mix of the actual cookies and the spread. The spread is where that deep, caramelized flavor lives, while the crumbs provide the structural crunch.
| Ingredient | What It Does | Best Swap |
|---|---|---|
| Cream Cheese | Provides the main structure | Mascarpone (richer, less tang) |
| Biscoff Spread | Adds the signature flavor | Speculoos paste |
| Sour Cream | Adds moisture and tang | Full fat Greek yogurt |
| All Purpose Flour | Stabilizes the filling | Cornstarch (1 tbsp) |
Using full fat cream cheese is a non negotiable here. low-fat versions have more water, which can make the filling grainy or runny. According to Serious Eats, maintaining a consistent fat content is key to avoiding a cracked surface.
For the Biscoff Cheesecake Crust
- 1.5 cups (190g) Biscoff cookie crumbs Why this? The cinnamon flavor is baked into the base.
- 5 tbsp (70g) unsalted butter, melted
- 0.25 tsp (1.5g) salt Why this? Cuts through the heavy sugar.
For the Filling
- 24 oz (680g) full fat cream cheese, softened
- 0.75 cup (170g) Biscoff spread, softened
- 0.75 cup (150g) granulated sugar
- 3 large eggs, room temperature Why this? Ensures a smooth emulsion.
- 0.5 cup (120g) sour cream, room temperature
- 1 tsp (5ml) vanilla extract
- 2 tbsp (16g) all purpose flour
For the Glossy Topping
- 0.5 cup (125g) Biscoff spread, melted
- 6 Biscoff cookies, for garnish
| Original Ingredient | Substitute | Why It Works |
|---|---|---|
| All Purpose Flour | Almond Flour | gluten-free alternative. Note: Slightly grainier texture |
| Granulated Sugar | Brown Sugar | Adds a deeper molasses note. Note: Makes the filling darker |
| Sour Cream | Greek Yogurt | Similar acidity and thickness. Note: Slightly more tart |
Recipe Specifications
This Biscoff Cheesecake is designed for a standard 9 inch pan. It makes 12 generous slices, though I've found that most people are happy with smaller pieces because it's so rich.
The active work only takes about 20 minutes. Most of the "effort" is actually just waiting for the cake to bake and chill. Don't try to cut this cake before the 6 hour mark, or you'll end up with a gloopy mess.
The baking time is exactly 60 minutes. I always tell my friends to look for the "jiggle." If the edges are firm but the center moves slightly when you shake the pan, it's done.
Step-by-step Instructions
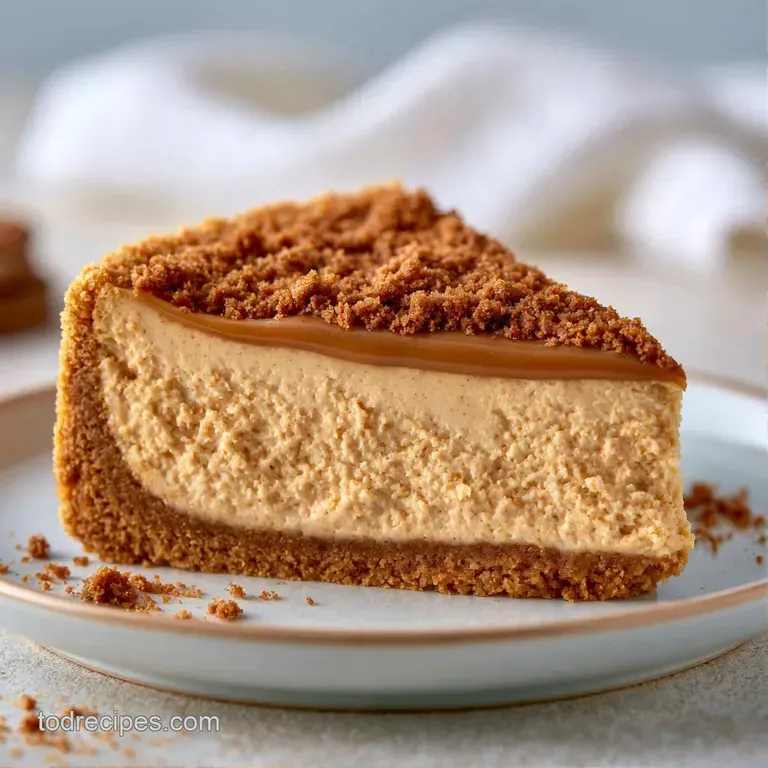
Time to begin. Ensure your cream cheese is completely softened, or you will be dealing with lumps for quite some time.
Phase 1: Constructing the Crust
- Combine Biscoff crumbs, melted butter, and salt in a bowl until the texture is like wet sand.
- Press the mixture firmly into the base and 1 inch up the sides of a 9 inch springform pan. Note: Pressing with the bottom of a glass ensures a tight crust.
- Bake the crust at 350°F (175°C) for 8-10 minutes, then remove and let it cool entirely.
Phase 2: Mixing the Filling
- Beat the softened cream cheese and Biscoff spread on medium low speed until the mixture is pale and entirely smooth.
- Slowly incorporate the granulated sugar and beat until well mixed.
- Add the eggs one at a time on low speed, ensuring each is fully emulsified before adding the next. Note: Over beating introduces air, which can lead to cracks.
- Stir in the sour cream, vanilla extract, and all purpose flour until just combined.
Phase 3: The Controlled Bake
- Pour the batter into the cooled crust and level the surface with an offset spatula. This forms the heart of your Biscoff Cheesecake.
- Bake at 325°F (160°C) for about 60 minutes until the edges are firm but the center still has a slight jiggle.
- Let the Biscoff Cheesecake reach room temperature, then refrigerate for at least 6 hours.
Phase 4: The Glossy Finish
- Drizzle melted Biscoff spread over the chilled Biscoff Cheesecake and top with Biscoff cookies.
What Can Go Wrong (and How to Fix It)
Even with a reliable recipe, things happen. The most common issue is the dreaded crack, but honestly, that's why we have the topping.
The Surface Cracked
This usually happens if the oven is too hot or if you beat the eggs too vigorously. The air bubbles expand and then collapse. Just pour the melted Biscoff spread over the top, and it will disappear completely.
The Texture is Grainy
This is a sign that the cream cheese wasn't soft enough. If you see lumps, you can carefully run a blender through the batter before baking, but it's better to just leave the cheese out for a few hours next time.
The Crust is Soggy
If the crust feels soft, it's likely because it wasn't pre baked or it wasn't cooled enough before adding the batter. Pre baking creates a moisture barrier.
| Problem | Fix |
|---|---|
| Surface Crack | Cover with melted Biscoff spread |
| Grainy Filling | Ensure cream cheese is fully room temp |
| Soggy Crust | Pre bake for 8-10 mins and cool completely |
Adjusting the Size
If you don't have a 9 inch pan, you can still make this Biscoff Cheesecake, but you'll need to tweak the timing.
For a smaller 6 inch pan, use half of the ingredients. I recommend beating one egg in a small bowl and then using half of it to keep the ratios right. You'll likely need to reduce the baking time by about 20%.
If you're doubling the recipe for two pans, don't double the salt or vanilla exactly. Use about 1.5x those amounts. Bake the pans side by-side, but make sure there's a few inches of space between them for the air to circulate.
Decision Shortcut
- Extra tang? → fold in 1 tsp lemon zest
- More crunch? → add 0.5 cup extra crumbs to the crust
- Lower sugar? → reduce granulated sugar to 0.5 cup
Common Baking Misconceptions
You've probably heard that you need a water bath for every cheesecake. While it helps, it's not strictly necessary for a Biscoff Cheesecake because the Biscoff spread adds a bit of extra fat and stability to the batter.
Another myth is that you should keep stirring the batter until it's "perfect." Actually, the more you stir after adding the eggs, the more air you incorporate. Stop the moment the ingredients are combined.
Finally, some people think that "room temperature" means "warm." It doesn't. Your ingredients should be cool to the touch but not cold. If the cream cheese is too warm, it can lose its structure.
Storage and Waste Tips
This Biscoff Cheesecake lasts in the fridge for 5 days. Keep it in the springform pan with the ring locked, or move it to a cake carrier.
For long term storage, you can freeze it. Wrap the chilled cake tightly in plastic wrap and then aluminum foil. It stays good for about 2 months. When you're ready to eat it, let it thaw in the fridge overnight. Never thaw it on the counter, or the edges will get mushy.
If you have leftover cookie crumbs, don't toss them. Mix them into your morning oatmeal or use them to coat a piece of chocolate for a quick snack.
Serving and Enjoying
To get those clean, bakery style slices, dip a sharp knife in hot water and wipe it clean between every single cut. This prevents the filling from sticking to the blade.
This dessert is very rich, so I like to serve it with something bright. A few fresh raspberries or a dollop of unsweetened whipped cream balances the caramel notes.
If you want to go all out, serve it with a cup of strong black coffee. The bitterness of the coffee cuts right through the sweetness of the Biscoff Cheesecake, making every bite taste fresh. Trust me on this, it's the best way to eat it.
Recipe FAQs
What are the best biscuits for a cheesecake base?
Biscoff cookies are the top recommendation. Their spiced, caramelized taste pairs perfectly with the creamy filling and melted spread.
How to achieve a smooth, lump free filling?
Beat softened cream cheese and Biscoff spread on medium low speed. This process ensures the mixture is completely smooth and pale before you add the sugar.
Is it true that the cake needs to be baked at 350°F to set the filling properly?
No, and here's why. While the crust bakes at 350°F, the filling must be baked at 325°F (160°C) to prevent cracking and overcooking.
Does the cheesecake need to be chilled before adding the melted spread?
Yes, for at least 6 hours. This allows the structure to firm up so the garnish stays on the surface instead of sinking in.
Baked Biscoff Cheesecake